Moon, Stars, and Beyond
  • Ornaments
    • Buildings
    • Cats
    • Dogs
    • Houses
    • Old World Santa
    • Other
  • Other ArtWork
  • Becoming Homemade
  • Prices/Contact Information

Ready for Bread?

1/26/2012

0 Comments

 
Picture
 I made this recipe for my family months ago and have made it ever since.  My son loves it so much he refuses to eat the stuff you buy!  He is not the only one in my home that feels that way.   I promise it sounds like more work than what it really is and you will enjoy the out come just as much as everyone else. 

http://allrecipes.com/Recipe/fabulous-homemade-bread/detail.aspx

I have followed this recipe many times and the bread always comes out amazing.  The first time I made this though I came to a point in the recipe where no more would fit in my Kitchen Aid mixer. I dumped the remaining dough which is very moist and I kneaded the rest of the flour into the dough.  You do not have to do this if you half the recipe but I always love having the extra loaves to give to family and friends.

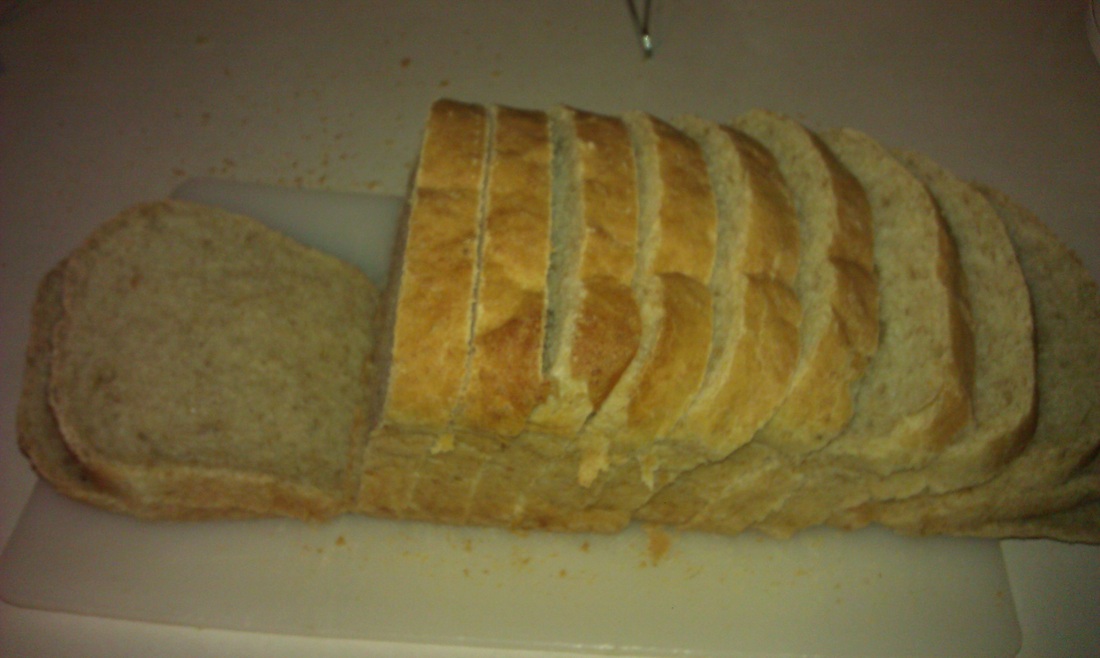
* For perfect slices use a electric knife

Original Recipe Yield 6 loaves 
Ingredients
  • 1/2 cup warm water
  • 3 (.25 ounce) packages active dry yeast
  • 1/4 cup bread flour
  • 1 tablespoon white sugar
  • 2 cups quick cooking oats
  • 2 cups whole wheat flour
  • 4 1/2 cups warm water
  • 1 1/2 tablespoons salt
  • 2/3 cup brown sugar
  • 2/3 cup vegetable oil
  • 10 cups bread flour
Directions
  1. In the mixing bowl of an electric mixer, stir together 1/2 cup warm water, 1 tablespoon sugar, 1/4 cup bread flour, and yeast. Let grow for about 5 minutes. It will bubble almost immediately.
  2. Measure oats, 4 1/2 cups warm water, whole wheat flour, salt, 2/3 cup sugar, and 2/3 cup oil into the mixing bowl. Mix on low speed with a dough hook for 1 to 2 minutes. Increase speed slightly, and begin adding bread flour 1/2 to 1 cup at a time until dough pulls away from sides of bowl. Humidity determines how much flour you need before the bread pulls away from the edge of the bowl. It is normal for the dough to be sticky.
  3. Place dough in an oiled bowl, and turn to coat the surface. Cover with a damp cloth. Let rise in a warm spot for 1 hour, or until doubled in size.
  4. Divide dough into 6 pieces. Shape loaves, and place in greased 8 x 4 inch pans. Let rise until dough is 1 inch above rim of pans, usually 1 hour.
  5. Bake at 350 degrees F ( 175 degrees C) for 35 minutes, or until tops are browned. Let cool in pans for 10 minutes, and then turn out onto wire racks to cool completely.
0 Comments

Homemade Cereal! Stuff your kids will really eat and love.

1/24/2012

1 Comment

 
After lots of research I have become beyond frustrated with the contents in our most popular food in our home, cereal.  Did you know I could not find a single legitimate recipe for cereal.  When I say cereal I mean the stuff you buy at the store in the shape of circles, rice, and flakes. When I become determined, watch out!

Here are the sites that I feel educated me the most in creating an amazing cereal;
http://www.realfoodfreaks.com/2011/09/14/is-cereal-good-for-you/
The recipe I adjusted from this site
http://www.thehealthyhomeeconomist.com/homemade-cold-breakfast-cereal-grain-free/
The reason I changed this recipe is because I did became intimidated by the almond and coconut flours.  So by all means if this is not intimidating to try the original recipe. 

Peanut Butter Cookie cereal

Ingredients

5 cups- All purpose flour
4 cups- milk-  Really you are just making a dough.
2 3/4 cups- peanut butter
1 cup- honey
1 teaspoon- salt
2 teaspoons- baking soda
2 teaspoons- Vanilla


Directions

Place flour and milk in a large bowl mix together and let sit out on counter overnight. Cover with a towel.
After allowing dough to rest overnight mix remain ingredients in bowl with the dough. 
Divide the dough into 2- 9x11 dishes.  You are making a type of cake.
Bake at 350 degrees for 30 minutes
After cake cools crumble cake onto cookie sheet into cereal size pieces. 
Place back in the oven at 200 degrees until drys completely. 
This recipe made 2 gallon size bags of cereal.

Now you can have cereal and really know what you are eating.
I think it taste like you are dipping a peanut butter cookie in milk but you still get the crunch of cereal.


Picture
1 Comment

Time to Ketchup

1/23/2012

0 Comments

 
I made this recipe today.  I wanted to wait to post it until my family test tasted.  The family approval has been marked.  This is time consuming so this needs to be done when you have a few hours of at home time.  The effort is worth the time.  All of them agreed it is better than the stuff you buy at the stores, to me that is success!
This is where I got my recipe from:
http://www.instructables.com/id/Ketchup-Catsup-Recipe/
I did not follow the recipe exactly.

Ingredients
1- 12oz can of tomato paste
1/2 c. white vinegar
4 T. brown sugar
1 T. garlic powder
1 T. onion powder
1/4 t. all spice
2 t. salt *
1 t. molasses
1 t. honey *
2 1/2 c. water

* changed ingredients from instructables recipe

Directions
Place all the ingredients in a large sauce pan.  Let simmer for 2 hours or until it reaches ketchup like consistency.  Taste before canning this is when I noticed the recipe needed more salt.  Be careful the ketchup will splatter up at you. 

Don't be intimidated by the time it takes to make this recipe.  The time is worth your health in the long run.

Upcoming recipes;  Bread, BBQ, Hard pretzals


0 Comments

Crunchy, yummy, potato chips!

1/22/2012

0 Comments

 
Potato chips have never been better.  I promise!  This is fast, easy, and super yummy.  As soon as I make these between my husband and children they are gone.

You are now 10 minutes away from creating your own homemade potato chips.
Ingredients
  • 1 tablespoon vegetable oil
  • 1 potato, sliced paper thin (peel optional)
  • 1/2 teaspoon salt, or to taste
Directions
  1. Pour the vegetable oil into a plastic bag (a produce bag works well). Add the potato slices, and shake to coat.
  2. Coat a large dinner plate lightly with oil or cooking spray. Arrange potato slices in a single layer on the dish.
  3. Cook in the microwave for 3 to 5 minutes, or until lightly browned (if not browned, they will not become crisp). Times will vary depending on the power of your microwave. Remove chips from plate, and toss with salt (or other seasonings). Let cool. Repeat process with the remaining potato slices. You will not need to keep oiling the plate.

http://allrecipes.com/recipe/potato-chips/

I flavored these with old bay tonight and they were SO good. 
Enjoy!
Picture
0 Comments

Hot Cocoa on a cold morning

1/21/2012

0 Comments

 
Picture
Chocolate syrup
Ingredients
  • 1 1/2 cups water
  • 1 1/2 cups white sugar
  • 1 cup cocoa powder
  • 1 dash salt
  • 1 teaspoon vanilla extract
Directions
  1. Combine the water, sugar, cocoa powder, and salt together in a saucepan over low heat; whisk constantly until the mixture thickens and begins to simmer. Remove from heat and stir the vanilla into the sauce. Serve warm or cover and refrigerate until serving.
I follow this recipe except I add an extra teaspoon of vanilla extract. 
The longer you whisk and simmer the thicker the mixture is. My family likes it a little thinner

http://allrecipes.com/recipe/chocolate-syrup/


This is the recipe I followed to make chocolate syrup when my husband said he wanted chocolate milk.  This works great for chocolate milk, hot cocoa, ice cream topping, and so much more!
The ingredients are so few it is crazy the amount of things that are added to the stuff you buy from the store.
0 Comments

Cereal=poison?

1/20/2012

2 Comments

 
My goal is to try to make as much as I can from scratch.  As I come to a need in our home I go on-line to find a recipe for what I need.  The latest item is cereal, my kids LOVE cereal!  I am guilty for feeding my children cereal for dinner on the nights I just don't wanna make anything. It's quick easy and so handy. I never realized I am feeding my children, my family, my walking hearts, poison!  Even those lovely finger cereals we give our babies are poison. 
http://www.realfoodfreaks.com/2011/09/14/is-cereal-good-for-you/

So I tell my kids "NO MORE CEREAL IN THIS HOUSE!" so my oldest sons reply was "I would rather starve than eat oatmeal!"- Great so instead of poisoning my children, I will just starve them.  What is a mom to do?  I have done hours and hours of research and I have found the recipe.  I promise once I make it and of course have my little lab rats, I mean children test taste I will let my friends know.  But in the mean time get rid of the poison in your homes and make oatmeal, eggs, pancakes, waffles, anything but cereal!
Don't believe me I double dog dare you to find a recipe for a cereal you can buy in the store!  Good-luck
Here is the website where I found the recipe I will soon make.
http://www.thehealthyhomeeconomist.com/homemade-cold-breakfast-cereal-grain-free/
2 Comments

Gummy, gummy, to my tummy

1/19/2012

0 Comments

 
 Mommy, I want those!  This is what I hear when I take my children to the grocery store. Gummies are one of my children's favorite foods!  Who knows what are in those gummies that our children love SO much and have to have right then and there?  Here is your first step to becoming homemade!  Not only is this a great way to spend more time with our children but educational for them too!  Take 20 minutes and make some gummies.
Picture
Supplies needed
Double boiler/ Sauce pan and Pyrex measuring cup
about 3 candy molds
Rubber spatula
Ingredients
3oz box of jello- small box
1/2 cup of juice- fresh squeezed or store bought- citrus seems to reduce the jello flavor from the gummies
3 packages of gelatin- one box has 4 packages
Extract- I use the flavor of the jello (optional)
Directions
Put the jello, juice, gelatin in the Pyrex measuring cup or double boiler.
Put enough water in the sauce pan to surround the gummy mixture that is in the Pyrex measuring cup.
Turn the eye of your stove on about medium and continue to stir until the mixture is completely dissolved.  It will look like a thick kool-aid. Add the extract at this point, add a few drops and taste.  When this reaches the taste you are happy with, start to pour in the candy molds.
When the candy molds are full place them in your freezer for about 10 minutes to firm completely and then of course test taste before your children because once seen there will be no more left. You can put powder sugar or corn starch on them to keep them from sticking to each other but the gummies I make don't last long enough to worry about adding more ingredients.


0 Comments

Aren't ya glad I said Orange Marmalade?

1/18/2012

3 Comments

 
Today was my first "real attempt" at making Orange Marmalade.  It was a whole bunch of work!  Of course anything homemade normally is time consuming.  My lesson learned today is to make sure you have everything before starting your project. I did not have enough sugar, so off to the store I went and well then I needed onions and the produce was awesome prices.  After bananas, berries, onions, and sugar of course I am on the road to making my first batch of orange marmalade. 
Here's the recipe I somewhat followed-
http://www.kraftbrands.com/surejell/recipes/recipe-detail.aspx?recipeId=52014&recipeName=SURE.JELL Orange Marmalade 
After all that work it says to measure 4 cups of the fruit mixture, well I used it all.  NO WAY the rest was going to waste.  After making my own judgment to continue "my way" I added anther cup of water and later added an additional cup of sugar. After stirring, stirring, stirring some more I thought it would never thicken. I found this great tip on-line about putting a plate in the freezer, place a spoon full of the marmalade/ jelly on the center of the plate and if it gels after 30 seconds you may start canning.  Thank goodness for this tip because I would have pulled it to soon.  Now it is in the jars cooling and this says it will take over 24 hours to set.  So here's to being patient again and waiting for the end result! 
Future projects- Gummies, BBQ sauce, ketchup 
3 Comments

Becoming Homemade

1/17/2012

2 Comments

 
I thought along with my website I would start a blog about my weekly homemade items. For my sort-of New Years resolution I have decided to try to make most of everything we eat.  I say most of everything because I am not making meat.  We do however have a hunter in our home so I am proud to say venison is a big part of our protein.  Last year is when I started this whole goal of making our food at home.  So far I have made gummies, bread, dinner rolls, cranberry sauce, marshmallows, hamburger buns, and chocolate sauce.  My future goals are; Orange Marmalade, Ketchup, and BBQ sauce.  So along my way of becoming homemade, I thought I would include my fellow blog followers.
2 Comments

    About me

    My Name is Cari.  I have been happily married to my husband, Brian for 11 wonderful years.  We have 2 beautiful boys, Adam and Matthew. 
    I work in a Memory support unit and try to bring happiness to the people that welcome me into their lives.
    Running, hiking, biking, walking are all things I like to do in my free time. 
    After losing my dad in 2011, I have learned that life is short and I am going to love every second that I have here on Earth! 

    Archived

    May 2012
    April 2012
    March 2012
    February 2012
    January 2012

    Categories

    All
    Products
    Recipes
    Tutorial

    RSS Feed

Powered by Create your own unique website with customizable templates.